Artificial intelligence can now turn simple sentences into full images. You type something like “a robot reading a book in a cozy library” and within seconds, a completely new picture appears on your screen. No camera, no drawing, no designer — just AI.
If you’ve ever wondered how AI creates images from text, this beginner guide will walk you through everything in simple language. You’ll learn what’s happening behind the scenes, how these AI image generation tools work, and how you can start using them for your own content, projects, or business.
Introduction: From Words to Pictures in Seconds
In the past, if you wanted a custom image, you had a few options:
- Hire a graphic designer
- Buy stock photos
- Try to design it yourself
- Spend hours editing in design software
Now, thanks to AI tools, you can simply describe what you want, and an AI image generator builds it for you. This is a game-changer for:
- Bloggers and content creators
- Online marketers
- Small businesses
- Designers and freelancers
- Anyone who creates visuals regularly
This guide is a beginner-friendly explanation of how AI creates images from text, without heavy math or technical jargon.
What Is Text-to-Image AI?
Text-to-image AI is a type of AI image generation tool that takes a written description (called a prompt) and turns it into an image.
In the simplest terms:
You tell the AI what you want to see using words.
The AI “imagines” it and draws a new image based on your description.
These systems are powered by machine learning models trained on huge numbers of images and their descriptions. Over time, the AI learns how certain words relate to shapes, colors, styles, and compositions.
For example, it learns that:
- “Cat” usually has fur, whiskers, ears, and a tail
- “Sunset” often includes warm orange, red, and pink tones
- “Cyberpunk city” often means neon lights, futuristic buildings, and dark environments
When you type a prompt, the AI uses its training to create something new that matches your words.
How AI Creates Images from Text (Simple Explanation)
Let’s break down how AI creates images from text into an easy-to-understand process.
1. You Provide a Text Prompt
Everything starts with a text prompt — what you type into the tool.
Examples:
- “A futuristic city at night with neon blue lights and flying cars, 16:9 cinematic view.”
- “Cute cartoon robot reading a book at a wooden desk, soft lighting, pastel colors.”
The better your description, the easier it is for the AI to understand what to generate.
2. The AI Understands Your Words
When you enter a prompt, the AI:
- Breaks the sentence into key concepts (subject, style, mood, etc.)
- Converts your words into numerical representations (called embeddings)
- Uses its trained understanding of how those words connect to visual features
You don’t see this step, but this is where the AI interprets:
- What the main subject is
- What the style might look like
- What colors, lighting, and composition might fit
3. The AI Starts From “Noise”
Many modern AI image models use a process called diffusion:
- They start with a random “noise” image (like TV static).
- Then, step by step, they remove the noise and shape it into something meaningful.
- Each step uses your text prompt as a guide.
Think of it like sculpting:
The AI starts with a rough block of marble (random noise)
and slowly carves it into a statue that matches your description.
4. The Image Gradually Becomes Clear
With each pass, the AI:
- Sharpens details
- Adds structure
- Applies color
- Refines shapes
It might go through dozens of small refinement steps, each time comparing the current image with what your prompt is asking for.
So if you typed:
“A snowy mountain landscape at sunrise, orange sky, calm lake reflection.”
The AI will:
- Recognize “snowy mountain”
- Add peaks and white surfaces
- Add “sunrise” tones in the sky
- Include a “calm lake” with reflection beneath it
5. You Get the Final Image
After the generation process completes, you see a fully formed image based on your text prompt. Depending on the tool, you might get:
- One image
- Multiple variations
- Options to upscale or refine
From there, you can:
- Download it
- Edit it
- Use it in your content
That’s the high-level explanation of how AI creates images from text using modern AI tools.

Key Features and Benefits of Text-to-Image AI
Understanding how it works is one thing — but why is this so powerful? Here are the main features and benefits.
Instant Image Creation
You don’t need to wait days for artwork or photos. Images appear in seconds or minutes, which is perfect for:
- Fast content production
- Last-minute design needs
- Idea exploration and visual brainstorming
No Design Skills Required
You don’t have to be:
- A graphic designer
- An illustrator
- A photographer
You simply describe what you want and let the AI image generation tools handle the artistic part.
Infinite Styles and Possibilities
AI can generate:
- Realistic photos
- 3D renders
- Flat vector-style art
- Cartoons and anime
- Abstract and surreal art
- Minimal, clean tech-style illustrations
You can experiment across styles without needing multiple tools or specialist skills.
Perfect for Content Creators
If you run a blog, YouTube channel, social profile, or online business, text-to-image AI can help you:
- Create unique header images
- Design thumbnails and banners
- Illustrate abstract ideas that are hard to photograph
- Maintain a consistent visual style across your brand
Cost-Effective Visuals
Many AI tools offer:
- Free tiers
- Trial credits
- Affordable monthly plans
Compared to stock photos or custom design work, AI-generated images can be much cheaper in the long run, especially for high-volume content creation.
Practical Use Cases: Where Text-to-Image AI Shines
Blogging and Articles
You can generate:
- Feature images that match your topic
- Illustrations for AI tools, software tutorials, or make-money-online guides
- Custom visuals for step-by-step guides or comparisons
Instead of relying on generic stock photos, you create images perfectly tailored to your article.
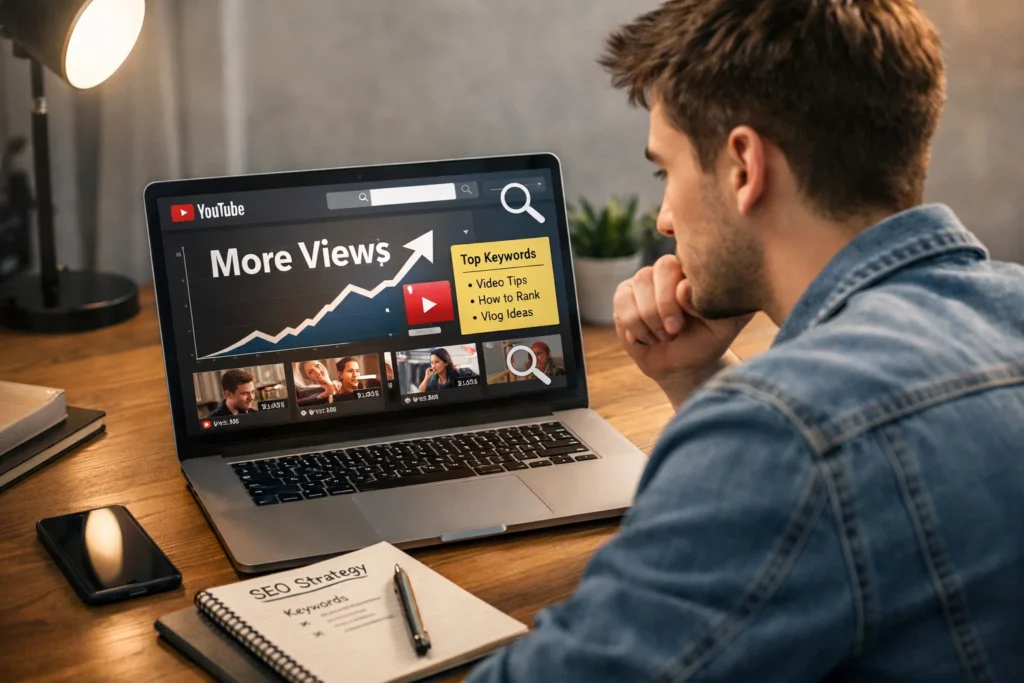
YouTube and Video Thumbnails
AI image generation tools can help you produce:
- Attention-grabbing thumbnails
- Background scenes
- Icons and mini illustrations
This is especially useful if you create content about:
- Tech
- AI
- Software tools
- Online income
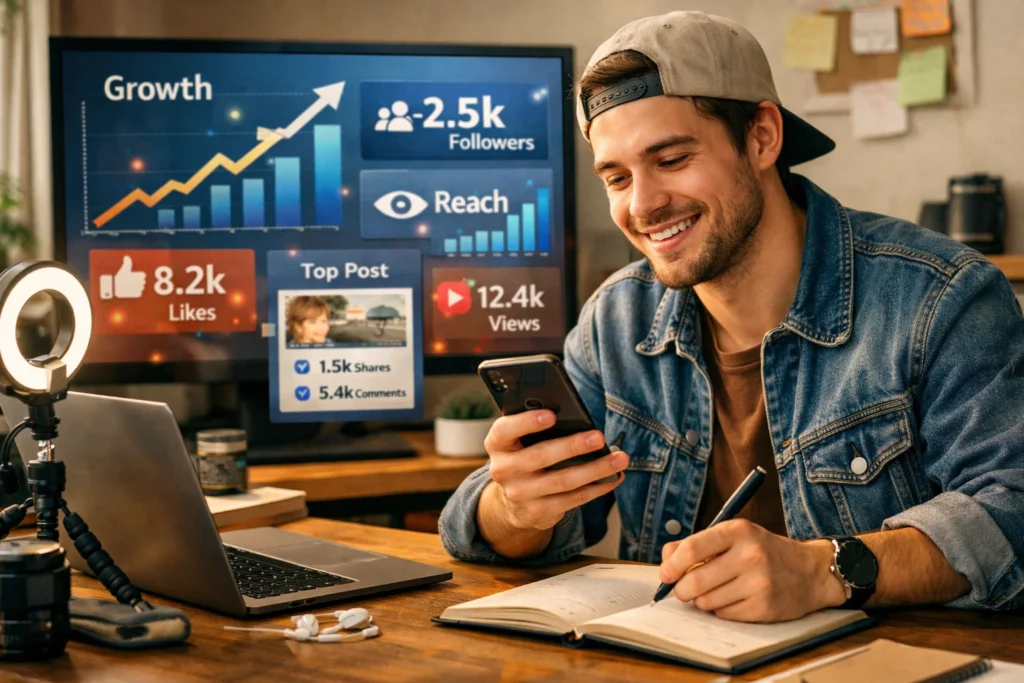
Social Media Content
For platforms like Instagram, LinkedIn, or X (Twitter), you can use AI to generate:
- Backgrounds for quotes
- Visual slides for carousels
- Images that match your brand colors and style
Product and Concept Visualization
If you’re working on a digital product, app, or course, AI can help you:
- Visualize mockups and concepts
- Create cover graphics
- Build scenes that represent your target audience
Freelancers and Service Providers
Freelancers can:
- Use AI to speed up their design process
- Offer “AI-assisted visuals” as an add-on
- Brainstorm multiple ideas quickly before deciding on one direction
Step-by-Step Beginner Guide: How to Use AI to Create Images from Text
Let’s walk through a practical beginner workflow you can follow.
Step 1: Choose an AI Image Generation Tool
Look for tools that are:
- Beginner-friendly
- Web-based (no installation required)
- Offering a free trial or free credits
Check if they support:
- Text-to-image
- Aspect ratio control (e.g., 16:9)
- Different art styles
Step 2: Decide What You Want to Create
Before you type anything, think about:
- The subject: What is in the image?
- The style: Realistic, illustration, flat, 3D, etc.?
- The mood: Bright, dark, calm, intense, playful, professional?
- The framing: Close-up, wide shot, from above, from the side?
A strong example:
“A businesswoman working at a laptop with AI icons floating around, modern 3D illustration, purple and blue accents, clean white background, 16:9.”
Step 3: Write a Clear, Structured Prompt
Use a simple structure like:
[Main subject] + [Style] + [Environment/Mood] + [Colors] + [Composition/Angle]
For example:
“A futuristic workspace with a computer screen showing AI transforming text into images, digital illustration, purple-blue tech tones, minimal style, 16:9 wide shot.”
This fits your SEO topic and your visual style.
Step 4: Set the Aspect Ratio (Important for Content Creators)
Most blog and website headers use landscape (16:9).
For TopReviewsPrint.com, that’s a great default.
Other common ratios:
- 1:1 for square social posts
- 9:16 for stories or vertical short videos
Always pick this before generating so the image fits where you plan to use it.
Step 5: Generate and Review the Result
Click generate and wait for the image.
Ask yourself:
- Does it match my prompt?
- Does it fit my brand or article?
- Is the composition clean, or is it too busy?
If it’s not quite right, change:
- Style words (e.g., “flat illustration” instead of “realistic photo”)
- Color schemes
- Level of detail
Step 6: Refine With Adjusted Prompts
Small changes in wording can matter. Try:
- Adding “minimal” if you want cleaner designs
- Adding “high detail” for more intricate images
- Avoiding conflicting instructions (e.g., “minimal and extremely detailed” at the same time)
You can also add negative guidance if the tool supports it, like:
“No text, no watermark, clean background.”
Step 7: Save, Optimize, and Use Your Image
Once you’re happy with the result:
- Download the image
- Compress it if needed for web performance
- Add alt text for SEO and accessibility, such as: “AI creating images from text on a digital screen in a futuristic interface.”
Then, upload it to:
- Your blog post
- Social media
- Landing page
- Presentation slide

Examples in Real Life (Scenario-Based)
Example 1: Tech Blogger Creating a Featured Image
A blogger writing an article titled “How AI Creates Images from Text: A Beginner Guide” wants a visual that:
- Shows AI visually generating images
- Matches a purple-blue tech branding
- Has a modern, minimal look
They write this prompt:
“Futuristic interface showing AI transforming text into colorful images on a large monitor, modern digital illustration, purple and blue tones, clean minimal background, 16:9.”
Within seconds, they get a header image that matches the topic perfectly.
Example 2: Online Course Creator
A course creator building a module about AI tools needs:
- A thumbnail for each lesson
- Visuals that express “AI productivity,” “AI creativity,” and “AI automation”
They use text prompts to create consistent images for:
- Lesson thumbnails
- Slide backgrounds
- Marketing materials
The result: a professional-looking course, built faster and cheaper.
Example 3: Freelancer Offering Visual Content
A freelancer offers blog + image packages to clients who want done-for-you content.
Using AI, they can:
- Write the article
- Generate matching illustrations
- Package it together for clients at a competitive rate
This shows one way AI image generation tools actively help people earn online.
Tips for Beginners Using AI Image Generation Tools
- Start with simple scenes and add complexity gradually.
- Keep prompts under 2–3 sentences for better control.
- Save your best prompts in a document for reuse.
- Stick to a color palette (e.g., purple-blue for tech, green-blue for finance).
- Use descriptive adjectives (e.g., “cinematic,” “minimal,” “isometric,” “flat”).
- Think in camera terms: wide shot, close-up, top view, side view.
The more clearly you describe what you want, the better the AI can create it.
Common Mistakes to Avoid
Using Vague Prompts
Prompts like:
“Cool AI picture”
are too vague. AI doesn’t know what “cool” means to you. Be specific.
Mixing Opposite Instructions
Avoid combinations like:
- “Hyper realistic cartoon”
- “Minimal overloaded design”
These confuse the model. Choose one direction per prompt.
Ignoring Aspect Ratios
If you create a square image and try to crop it into a wide header, key parts of the image might be cut off. Always pick the right ratio upfront.
Overusing AI Without Editing
AI images are powerful, but they’re often best used as:
- A starting point
- A base layer
- A concept draft
You can refine them further using design software, cropping, or overlays.
Forgetting About Rights and Policies
Each tool has its own:
- Usage rules
- Commercial terms
- Content policies
Always read and follow them, especially if you’re using images for client work, advertising, or products.
Advanced Insights (When You’re Ready to Go Deeper)
Once you’re comfortable with the basics of how AI creates images from text, you can explore more advanced techniques.
Style Matching
You can try to:
- Use similar prompts repeatedly to create a consistent visual identity
- Describe the style in detail, such as “flat vector style, thick outlines, pastel palette”
This helps build a recognizable brand style across all visuals.
Prompt Chaining
Instead of trying to get the perfect image in one step, use:
- A broad concept prompt for rough composition.
- A refined prompt for style and detail.
- A final prompt for targeted adjustments.
This layered approach gives you more control.
Using AI Images Inside Other Tools
You can:
- Bring AI-generated images into design tools
- Add text, brand logos, and layouts
- Mix multiple AI images in a collage or multi-step graphic
This is especially helpful for:
- Blog hero sections
- Sales pages
- Social media carousels
Conclusion
Text-to-image AI is one of the most exciting developments in modern AI tools. It makes it possible for anyone — even complete beginners — to turn simple text prompts into detailed, polished images.
Now that you understand how AI creates images from text, you can:
- Experiment with your own prompts
- Use AI image generation tools to support your content
- Build visuals for blogs, courses, products, or social media
- Save time, money, and effort while still producing high-quality designs
You don’t need to be a designer. You just need clear ideas, good prompts, and a willingness to experiment.
Frequently Asked Questions
It reads your text prompt, interprets the meaning, and gradually transforms random noise into a visual that matches your description using patterns it learned during training.
Most tools are web-based, so you only need a browser and an internet connection.
Not at all. It’s built so that anyone—bloggers, marketers, students, freelancers—can create images without design skills.
Often yes, but it depends on the tool’s terms and conditions. Always review the usage and licensing rules.
Write clear, structured prompts, specify style and composition, use consistent colors, and refine your prompt based on what you see.